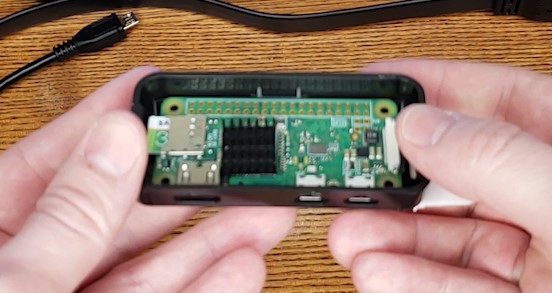
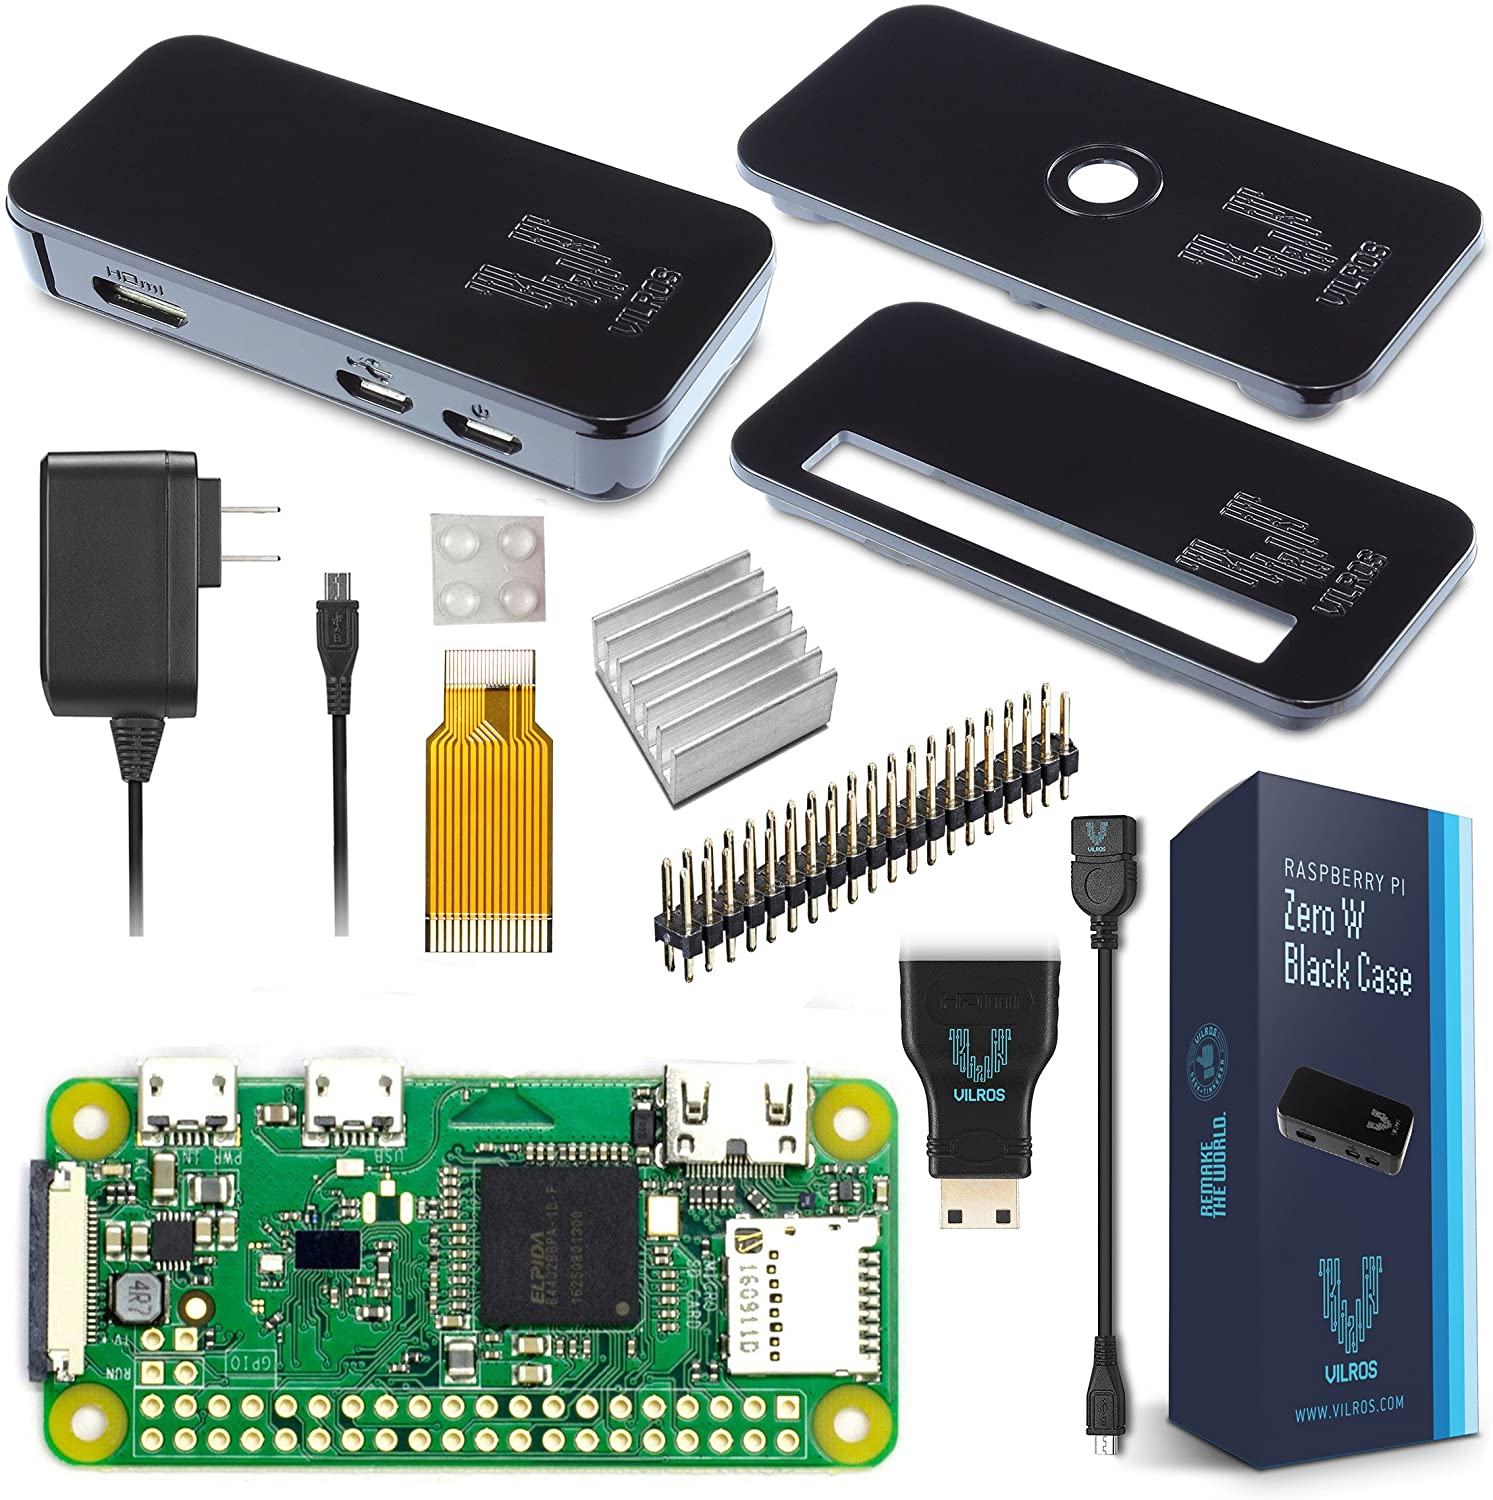
CypherHive

Find out what the ₿uzz is all about

bitcoin

Bitcoin (BTC)

$ 62,598.77 0.95%

How to build a Bitcoin Dashboard for $100

Would you like to have all of the best Bitcoin statistics on a display that is always on, updated in real time, and in any location you desire? Who wouldn’t?

You can have live bitcoin statistics anywhere without opening your computer or phone.

What if I told you that you could easily build one without any programming or engineering knowledge? Yes not only is it easy to set up, but you can make it for just $100!

Yes, that’s right! $100 doesn’t buy a lot anymore but it will buy you everything you need to have a competitive edge and stay on top of the world’s best performing asset.

What you will need

Raspberry pi 0w kit
$27.99

This kit comes with a Raspberry pi 0w, a protective and sleek case as well as all of the adapters and accessories you will need.

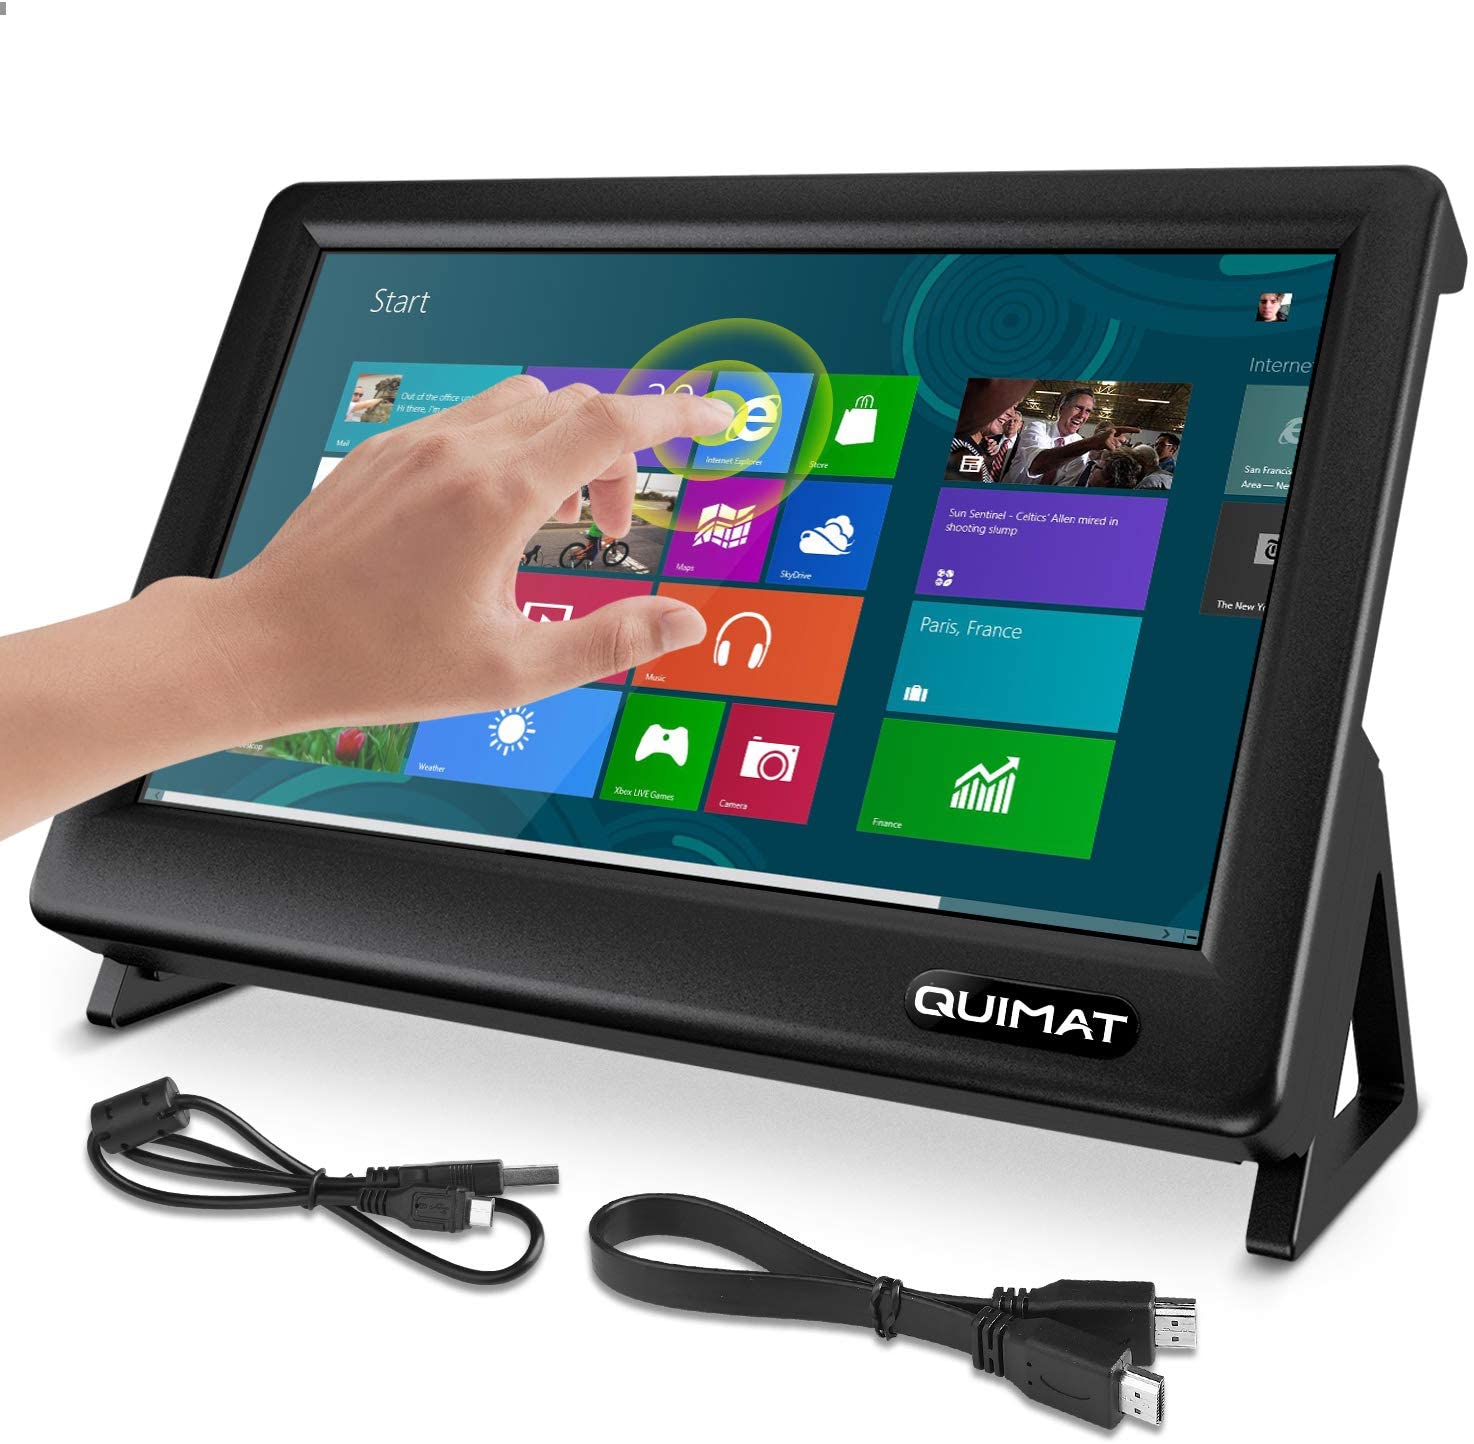
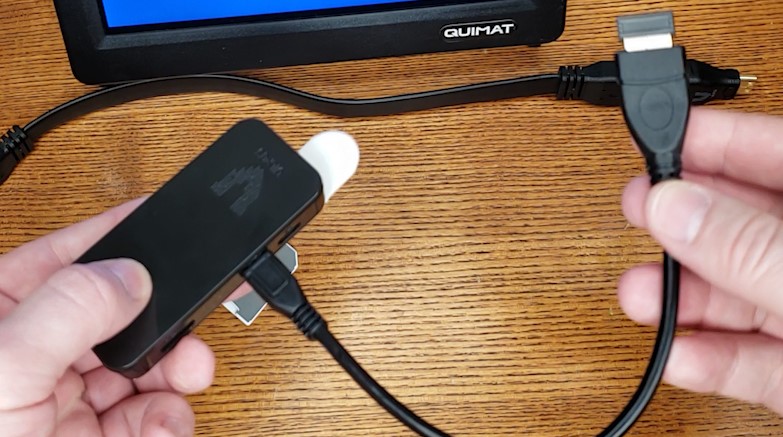
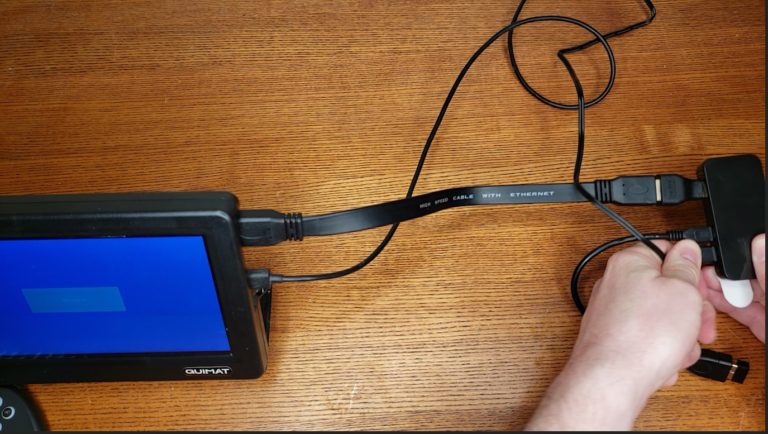
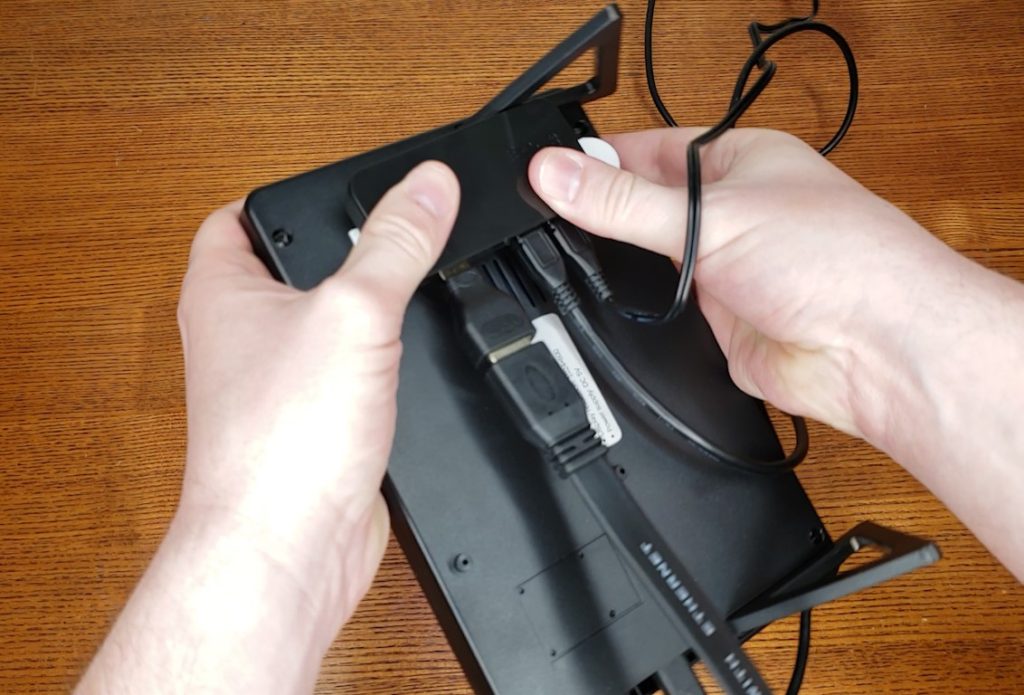
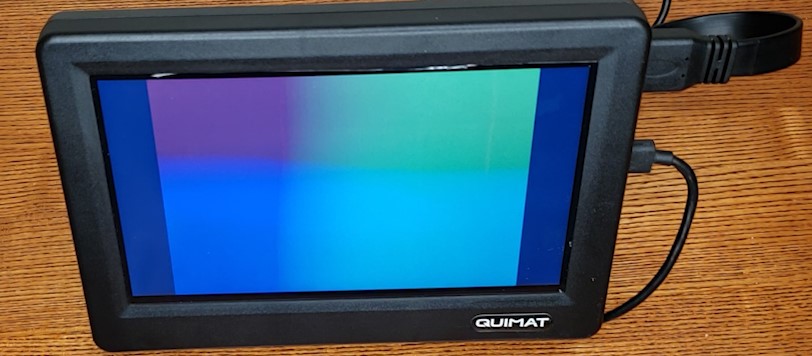
1024x600 7" LCD Screen
$64.99

This is a beutiful 7" Touchscreen LCD screen. It also comes with a HDMI cable and a USB to micro USB cable to power the screen.
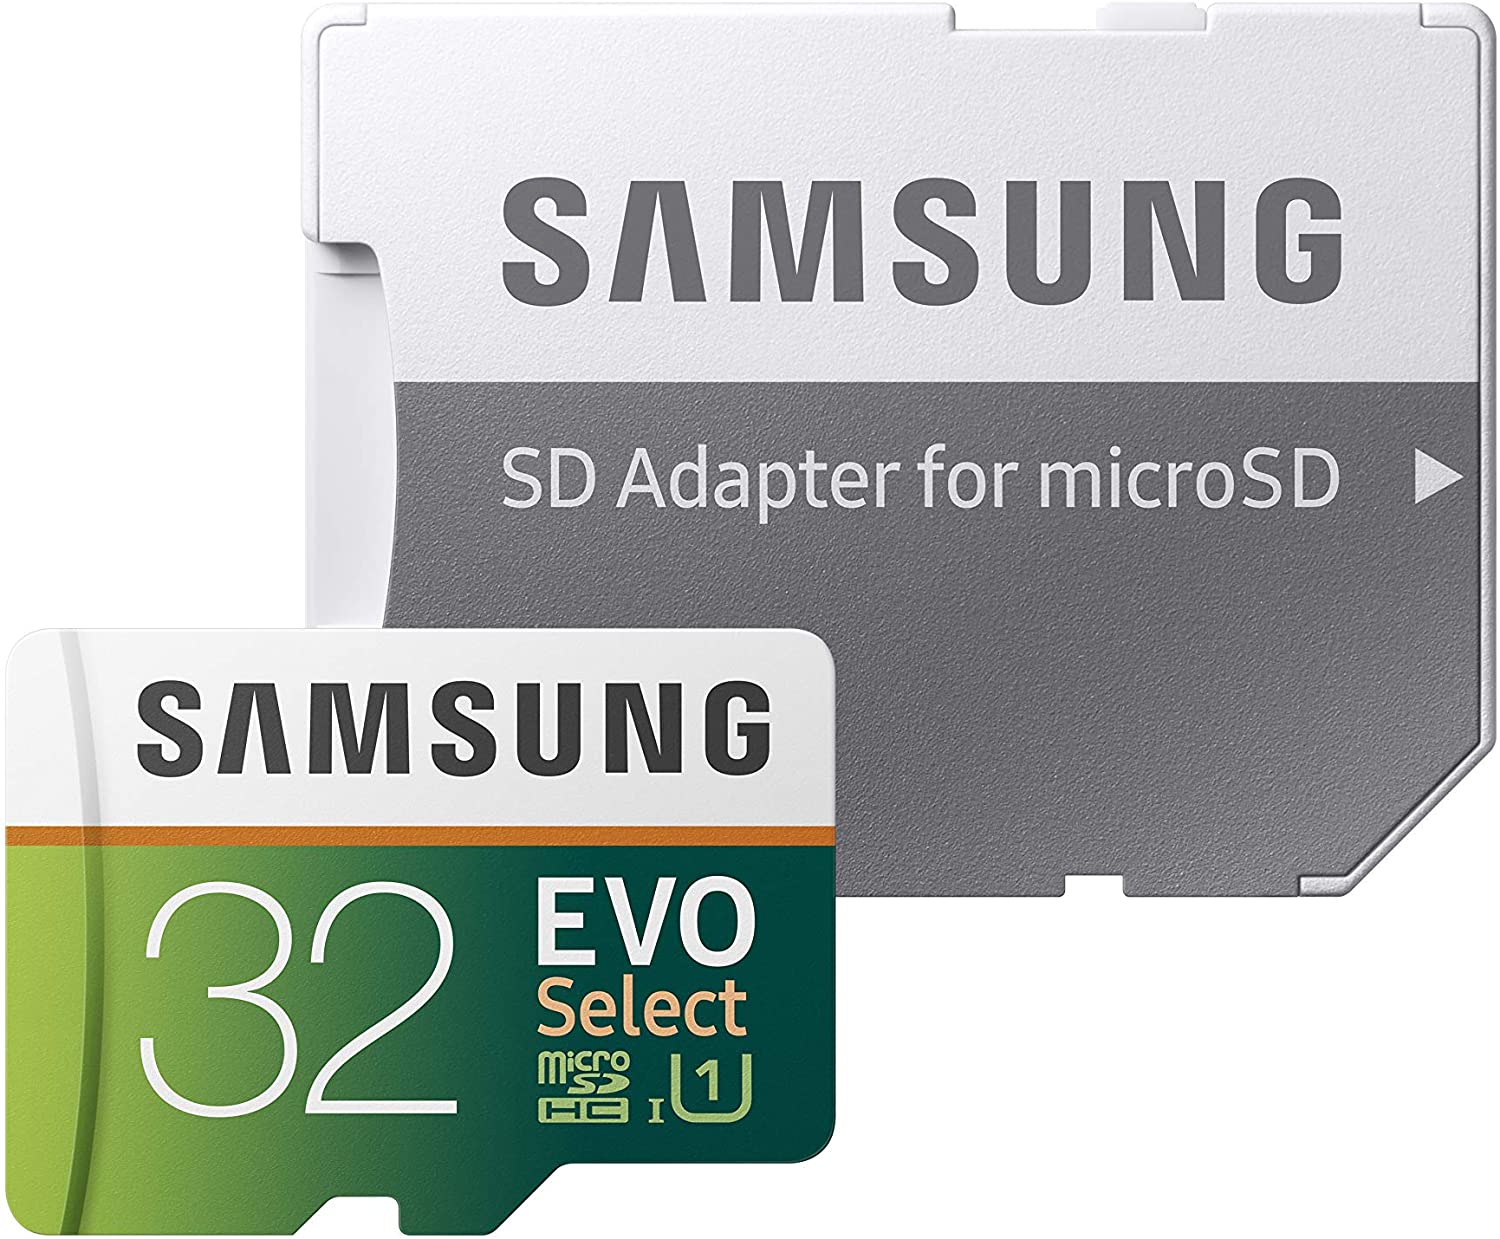
32GB Micro SD Card
$7.49

This is the Raspberry Pi's Hard Drive. You will install the Raspberry Pi Operating System on this and it provides enough storage to store many additional programs and files.

Optional Equipment

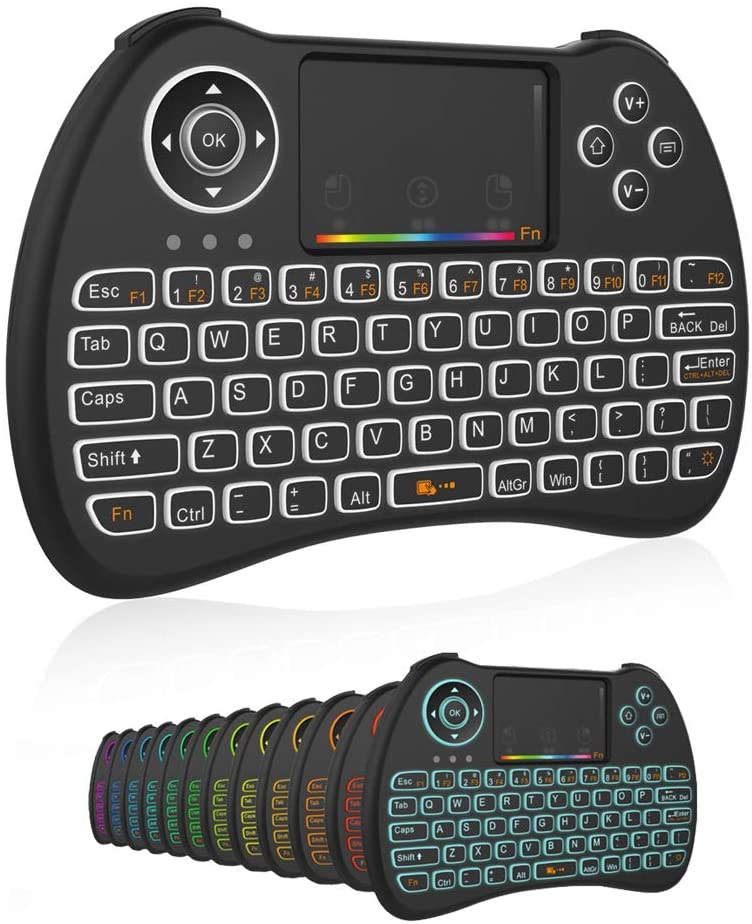
Mini Wireless Keyboard/Touchpad
~$16.00

This is lets you wirelessly control the cursor and typing on your raspberry pi. The pi 0 only has one USB port so this makes it easy to control the pi without having to remote into it.

3M_Hanging Strips

3M Velcro Adhesive Strips
~$3.00

These adhesive velcro strips are strong and allow you to mount your Raspberry pi in a case on the back of your monitor or wherever else you want to without using any screws.

Step 1 - Pre-Configure and Setup your Raspberry Pi

Download and launch the Raspberry Pi Imager

Using the Raspberry Pi Imager

Pre-configure OS

If you Pre-configure the OS, you won’t need to plug in a keyboard or mouse into your raspberry pi. 
We can just remote into the pi from your computer to control it from its very first start-up.
  • Click “Choose OS” and select Raspberry Pi OS (32-bit) 
  • Press CTL + SHIFT + X
  • Check “Disable Overscan”
  • Check “Set hostname:” and enter a name 
  • Check “Enable SSH” and type in a password for your Raspberry Pi (Write it down so you don’t forget it)
  • Check “Configure wifi” and make sure the SSID, password, and country of your wifi network is correct.
  • Check “Set locale settings” and select your time zone and keyboard.
  • Check “Skip first-run wizard”
  • Click the “Save” button

Save the pre-configured OS to your Micro-SD card

  • Click “Choose Storage”
  • Select your SD Card

(Anything that’s stored on the SD card will be overwritten during formatting. If your SD card currently has any files on it, you may wish to back up these files first to prevent you from permanently losing them.)

  • Click “Write”

Insert the Micro-SD card into your Raspberry Pi 

Put your Raspberry Pi in a protective case (Optional)

Connect your USB to Micro-USB Cable into the left port (Optional)

  • You can connect a USB device into this USB port (Mouse, keyboard, ect)  

Connect your Raspberry Pi to your screen with a HDMI cable and HDMI to Mini-HDMI adapter

Connect your Raspberry Pi and screen to a power source

Make sure you plug the power into the correct port!

Mount the Raspberry Pi to the back of your screen

  • You can use Velcro if using the case
  • You can mount the Raspberry pi to the back using small screws if you are not using a case

Make sure that your pi is connected to your wi-fi network

  • Look for the wi-fi symbol on the main screen.
  • If you don’t see this symbol, you should connect a mouse/keyboard and click the symbol in its place to manually connect to your wi-fi network

Congratulations! Your Raspberry Pi is now connected and ready to go!

  • If you plan on controlling your raspberry pi from a laptop/computer then proceed to Step 2 (Remote into your Raspberry Pi)

How to build a Bitcoin Dashboard for $100 – Step 2 

  • If you plan on doing everything directly through your raspberry pi then you may skip Part 2 and proceed to Step 3 (Installing Bitcoin Dashboard)

How to build a Bitcoin Dashboard for $100 – Step 3

Need Support?

Contact us if you need further assistance